
If for whatever reason a user needs their account restored from a full cPanel backup, or if a user is migrating to Reclaim Hosting & has provided us with a cPanel backup, the restoration process is actually quite simple:
- Make sure that the user has signed up for an account so their domain has been pre-assigned to a server.
- Log into the root folder of the server via FTP & upload the cPanel backup:

- Once the backup has been uploaded successfully, log into WHM & search “Restore” in the left sidebar. Select Restore a Full Backup/cpmove File:

- Select Restore with Username, and then select the file that you’ve just uploaded to the root folder in the drop-down. If there’s only one backup file in the root folder, this should be the only file that shows up in the menu. Next, make sure that “Replace all instances of original server’s IP…” is selected, along with the “Overwrite the existing user” box. Finally, click Restore.

If the restoration process is successful, you should see the following notifier:

- The next step now is to make sure that the user adopts Reclaim Hosting’s hosting plan settings, as opposed to the disk quotas, upload limits, etc. that came with their previous plan. We also want to make sure that all account passwords are synced after the move. To do both of these, go to the user’s profile on WHMCS. Go to the Product/Services Tab, and click the Change Package and then the Change Password module commands.
![]()
- As a final measure in WHMCS, it’s important to make sure that the domain and hosting plan are both set to an “Active” status. You’ll want to make sure that the domain has been renewed an extra year (this is promised with an account signup), and invoice/expiration dates are matching up.
- Lastly, we want to make sure that all of the user’s Installatron instances are imported so the user can log in to their dashboards easily. Otherwise, going to cPanel>My Apps would be blank. While using Installatron’s import feature is doable, it doesn’t make sense if the user has multiple instances, and/or you’re not sure which instances belong to which domains. So instead of tracking down where the instances live and importing them one by one, we can actually run a command in terminal that will do this for us.
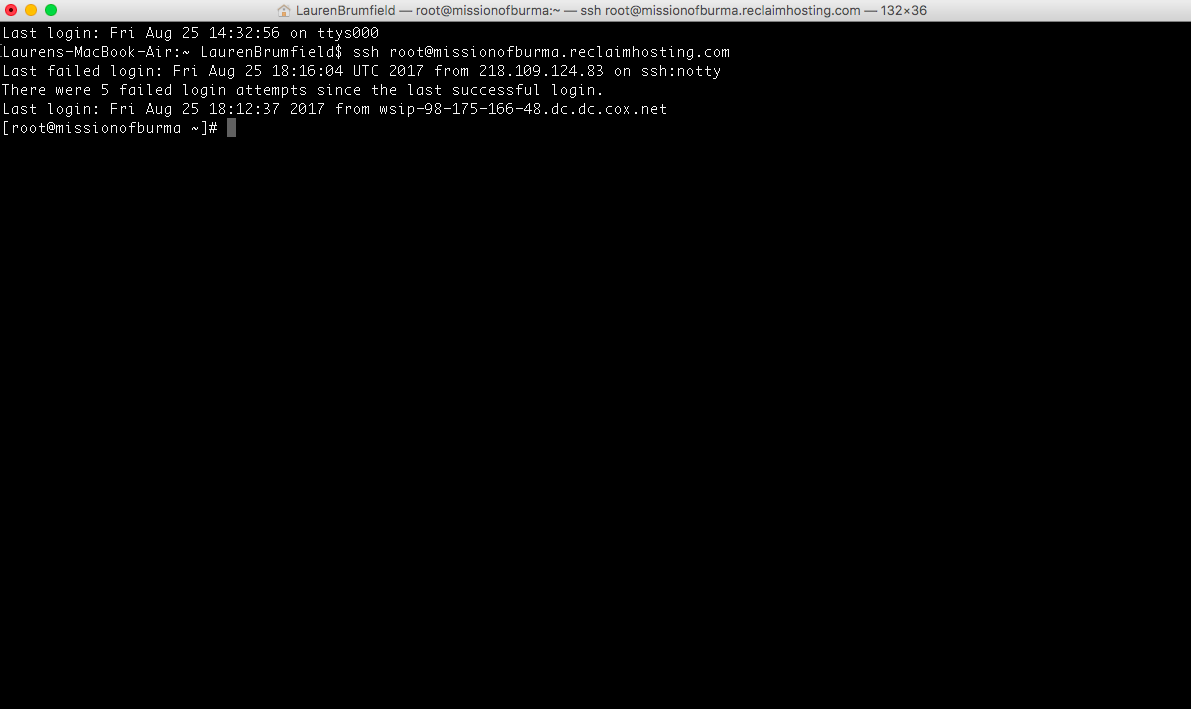
SSH into the server and run the following command:

/usr/local/installatron/installatron --send-update-report --user xxx
^Replace ‘xxx’ with the user’s cPanel username, then press Enter.
Boom! Now when you log into the user’s account, you should be able to view & access all of their Installatron instances. Congrats, you’ve successfully restored a user’s account from a cPanel backup!