
This post was originally published on Lauren’s Sandbox and covers quick notes from session 2 of Reclaim EdTech‘s July Flex Course on Understanding Containers.
Quick Links:
- Session 2: Getting Started with Docker in Reclaim Cloud
- Nextcloud Docker Image page
- Docker Glossary
- My environment URL: http://laurens-nextcloud.wc.reclaim.cloud:8080
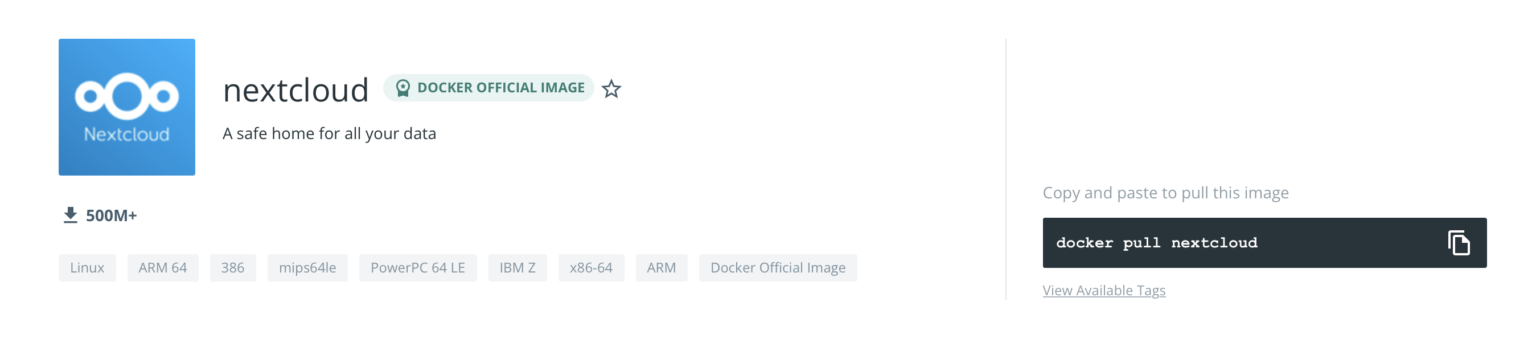
Dockerhub is the most popular container registry at hub.docker.com. Search for images on the Explore page. Look for NextCloud, and filter by number of downloads. Check for “Docker Official Image” stamp as well as official documentation for the tool. It will be important to refer to guides to become familiar with long term maintenance, upgrades, etc.
docker run
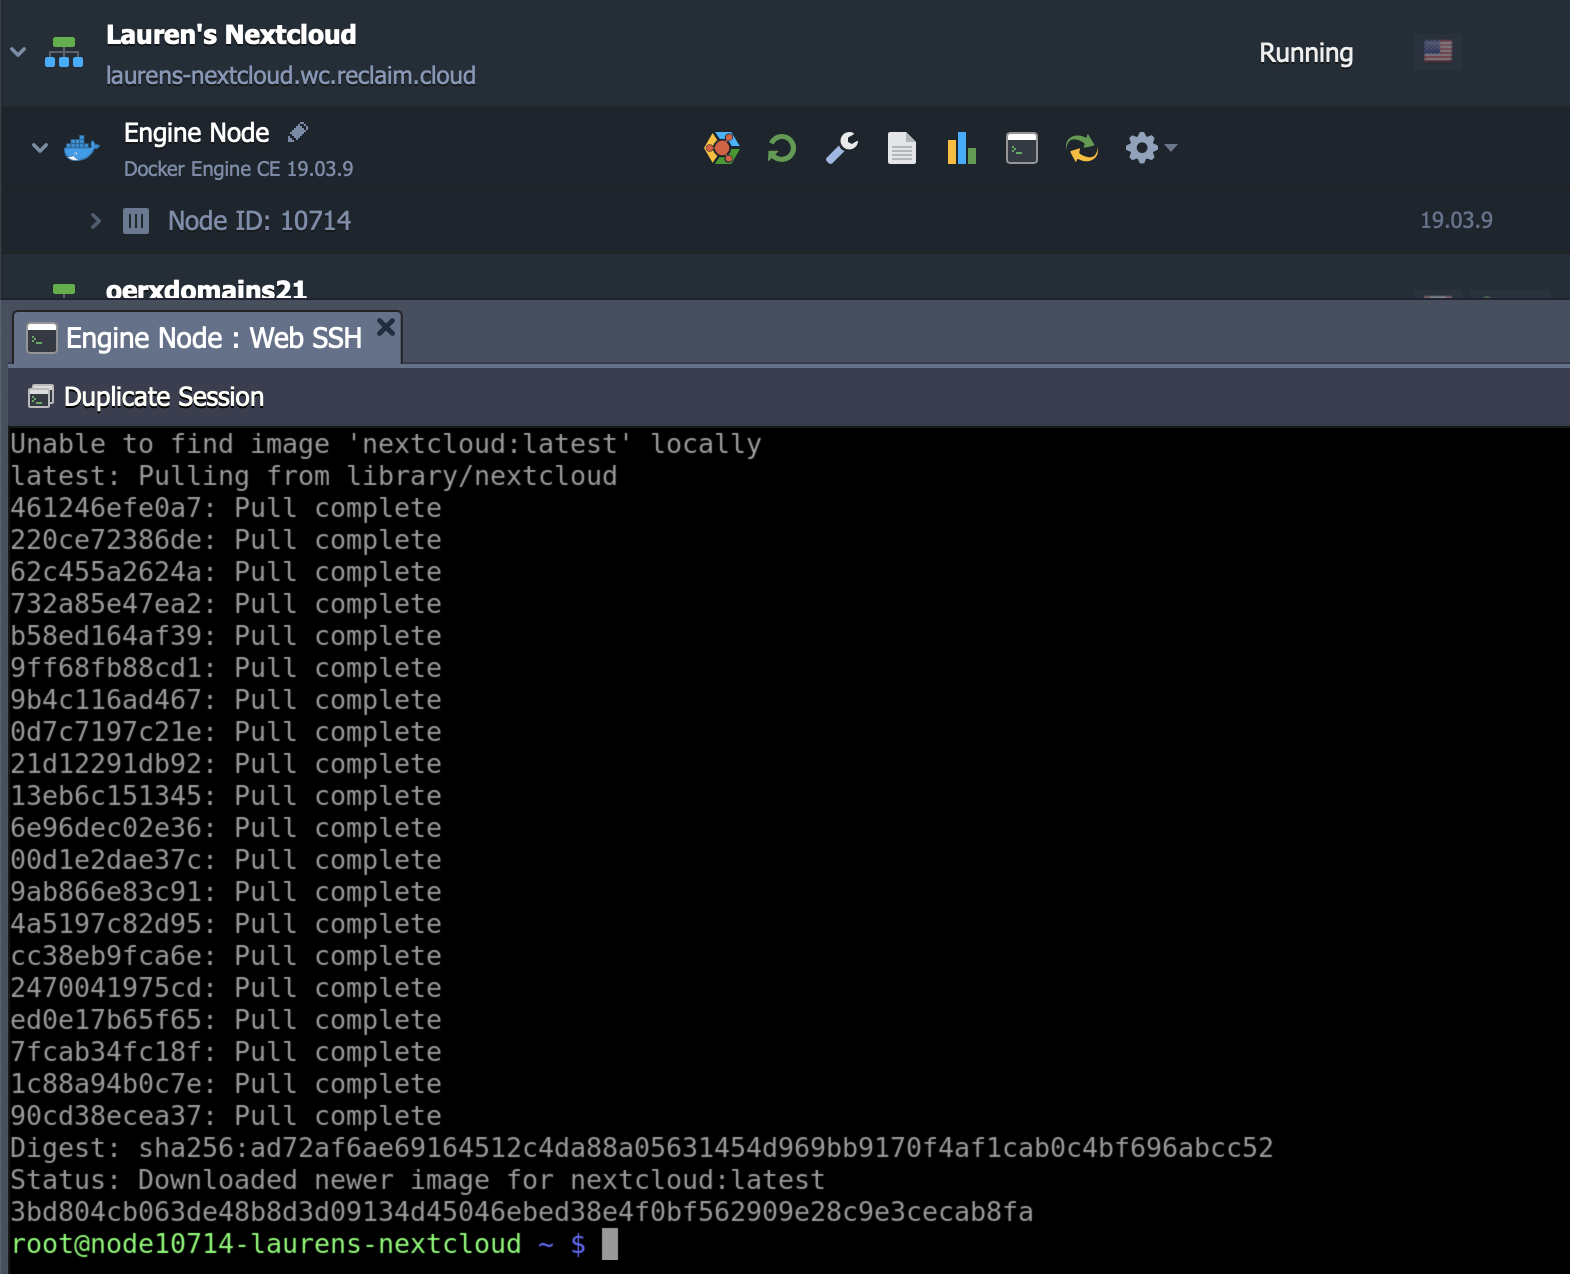
docker pull will download the image, but it won’t run it. Because of that, it’s best to use the docker run command. Scroll down to the “How to use this image” section of the NextCloud official image page and select the following command to begin:
docker run -d -p 8080:80 nextcloud- docker is the command we’re running
- run will tell it to run a container (and also pull images as needed)
- -d (run as a daemon) means continue to run until I tell you to stop, even if I close my window
- -p is for port mapping; the number on the left side of the colon (8080) is the port in Reclaim Cloud, and the number on the right side of the colon (80) is the port inside of the Docker container. — Port 80 is the web standard.
- nextcloud is the image being pulled
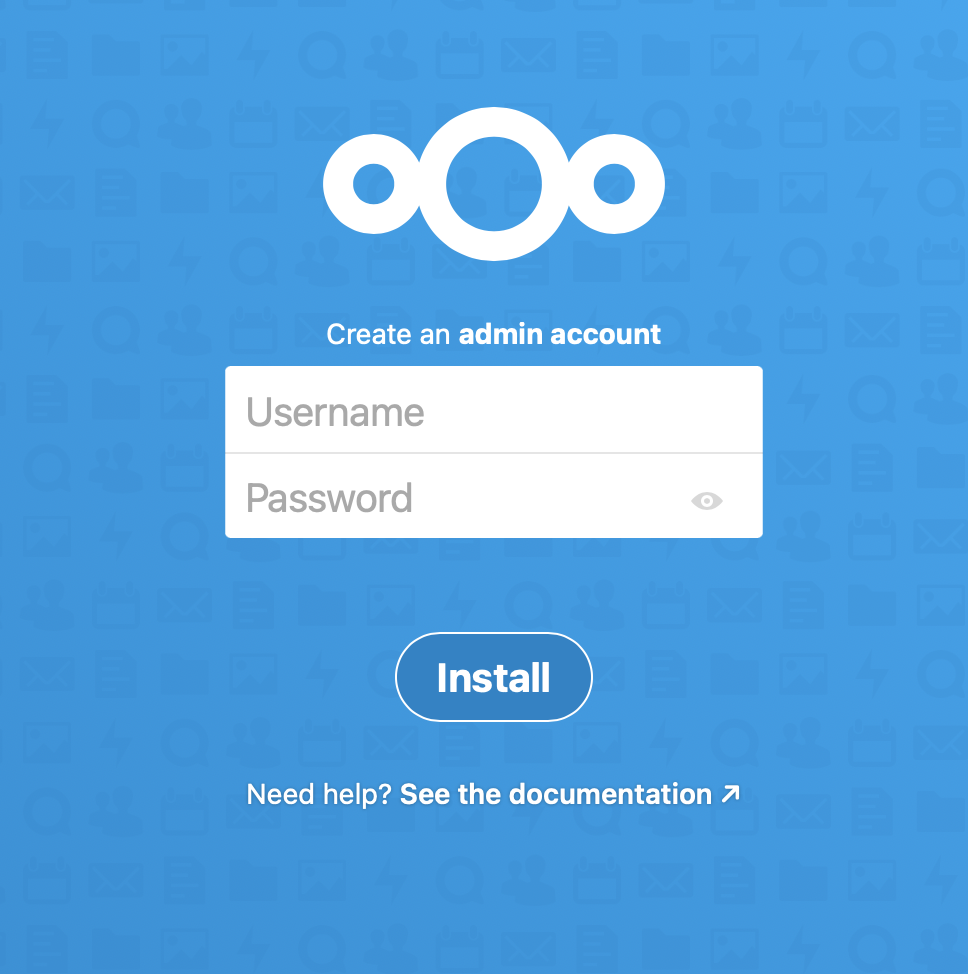
Once that completes, head to the environment URL to complete the installation process. Make sure to append “:8080” to the end of the domain. For example: http://laurens-nextcloud.wc.reclaim.cloud:8080
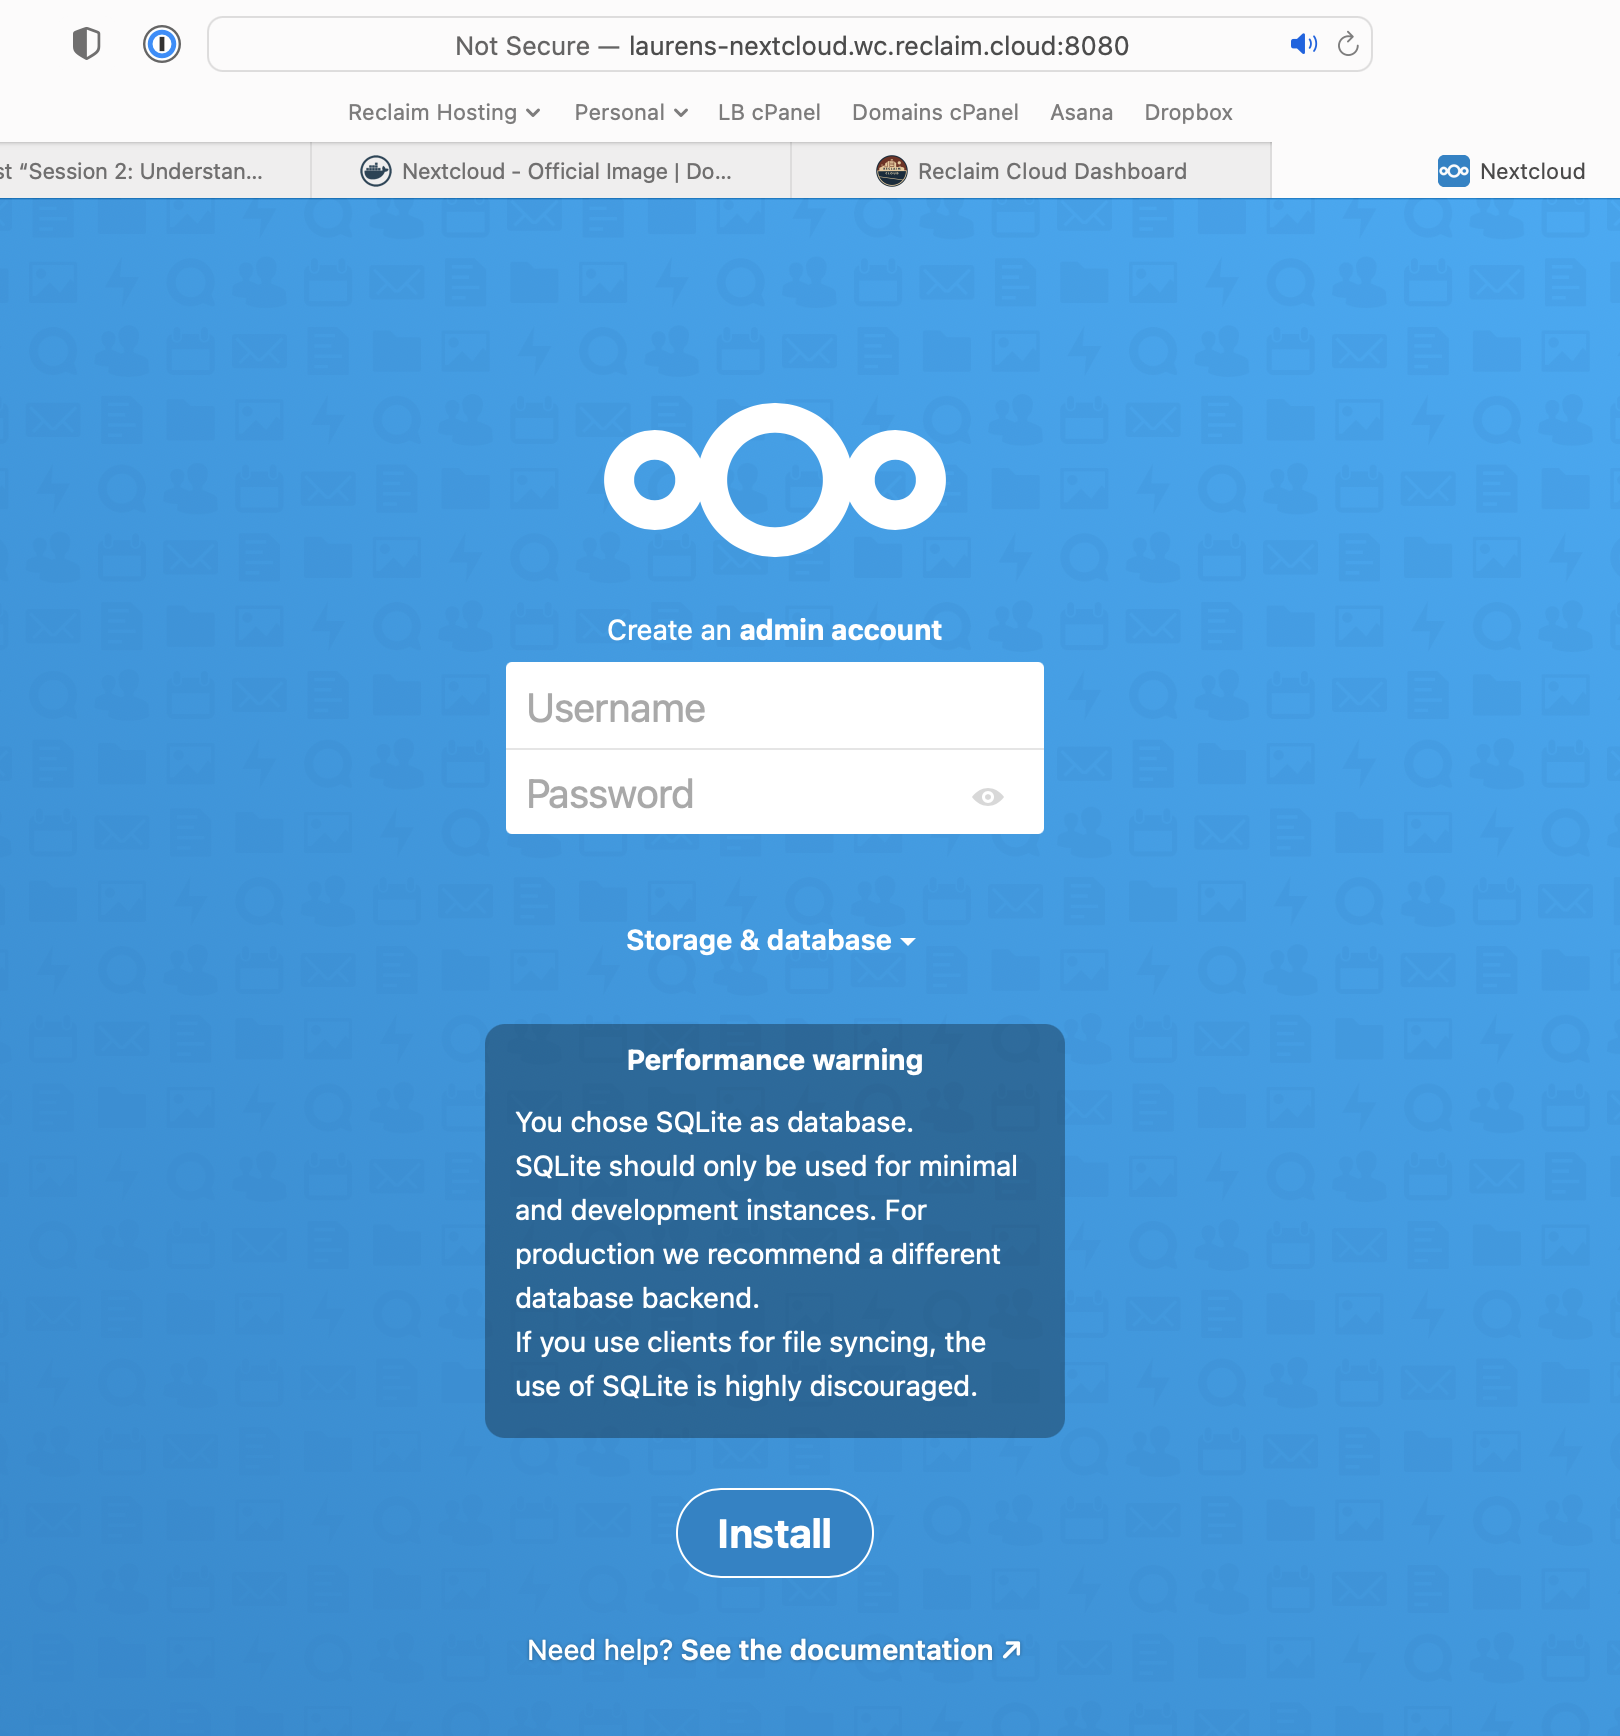
Next, set credentials & click install. Install the recommended apps when prompted.
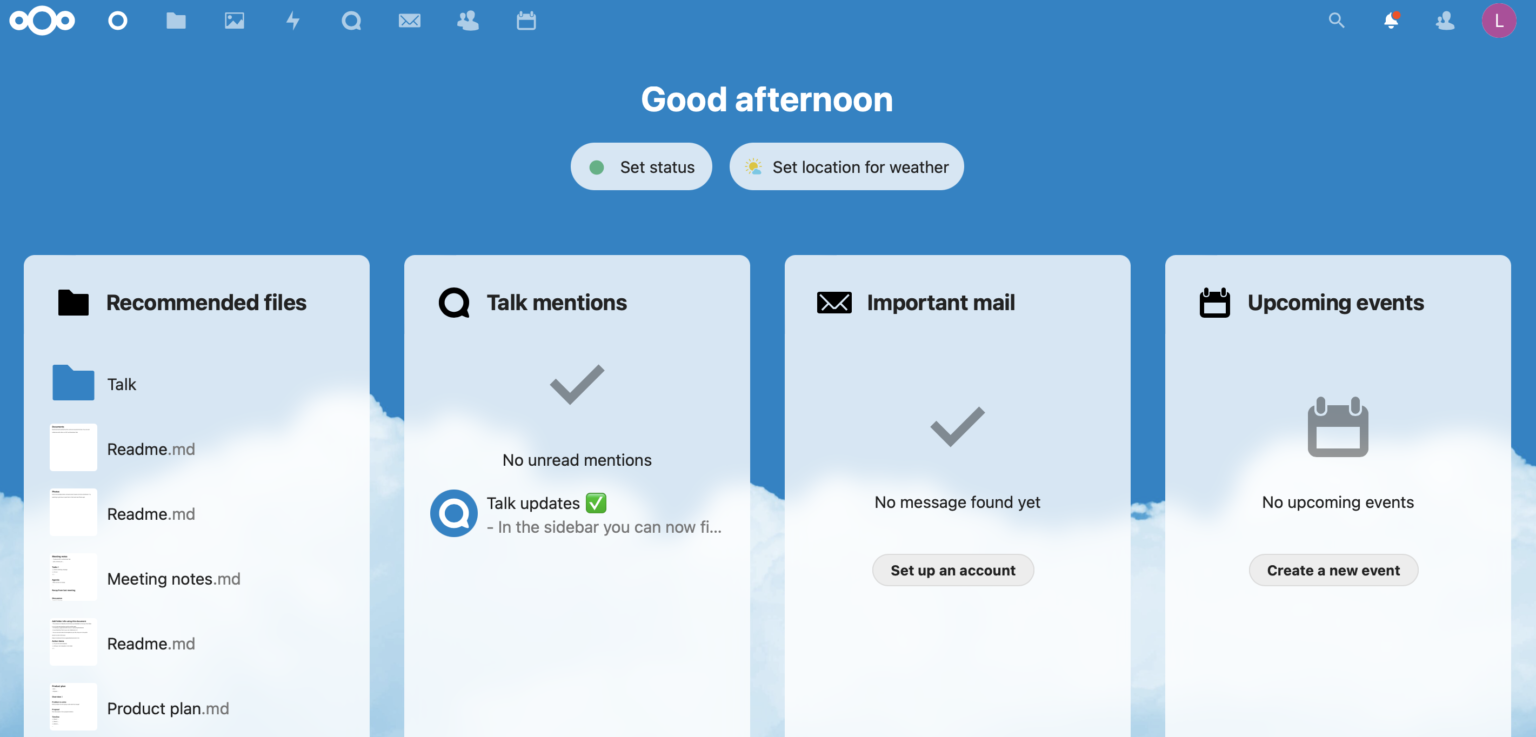
Tada! 🎉
Handy Commands in terminal for Docker:

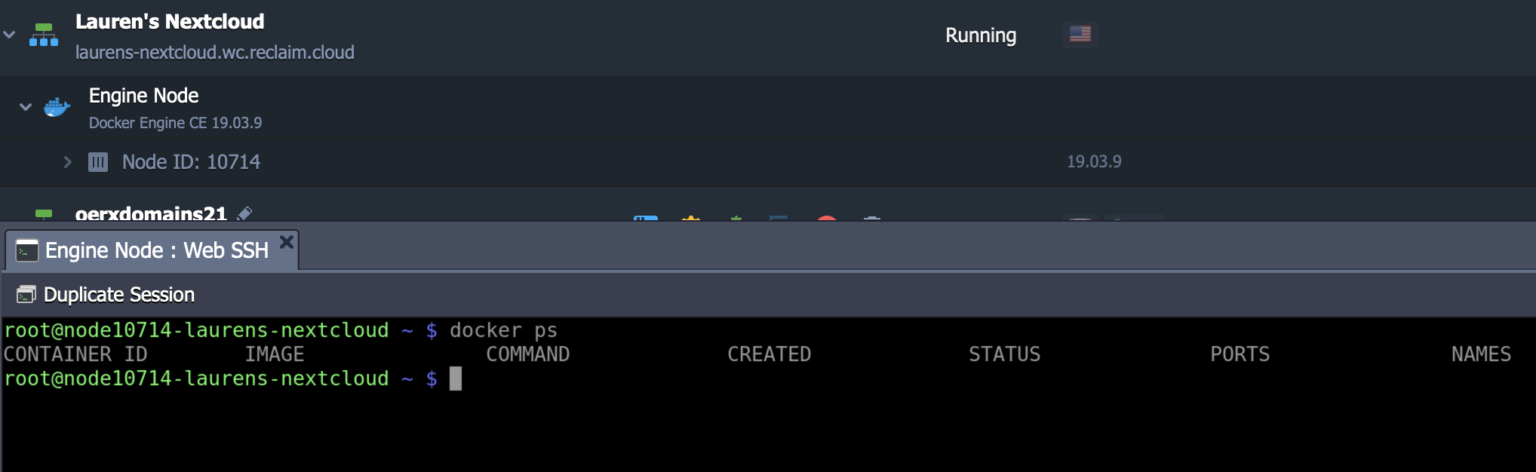
docker ps: displays which containers are running. This will also give us the container ID that we can use for other things.docker stop [container ID]: stops the running container
Note that when you re-run the docker container using original command above, all content is overwritten/lost. This is because Docker requires you to clarify where persistent data should be stored using Volumes or Bind Mounts.
Volumes, Bind Mounts, and Variables
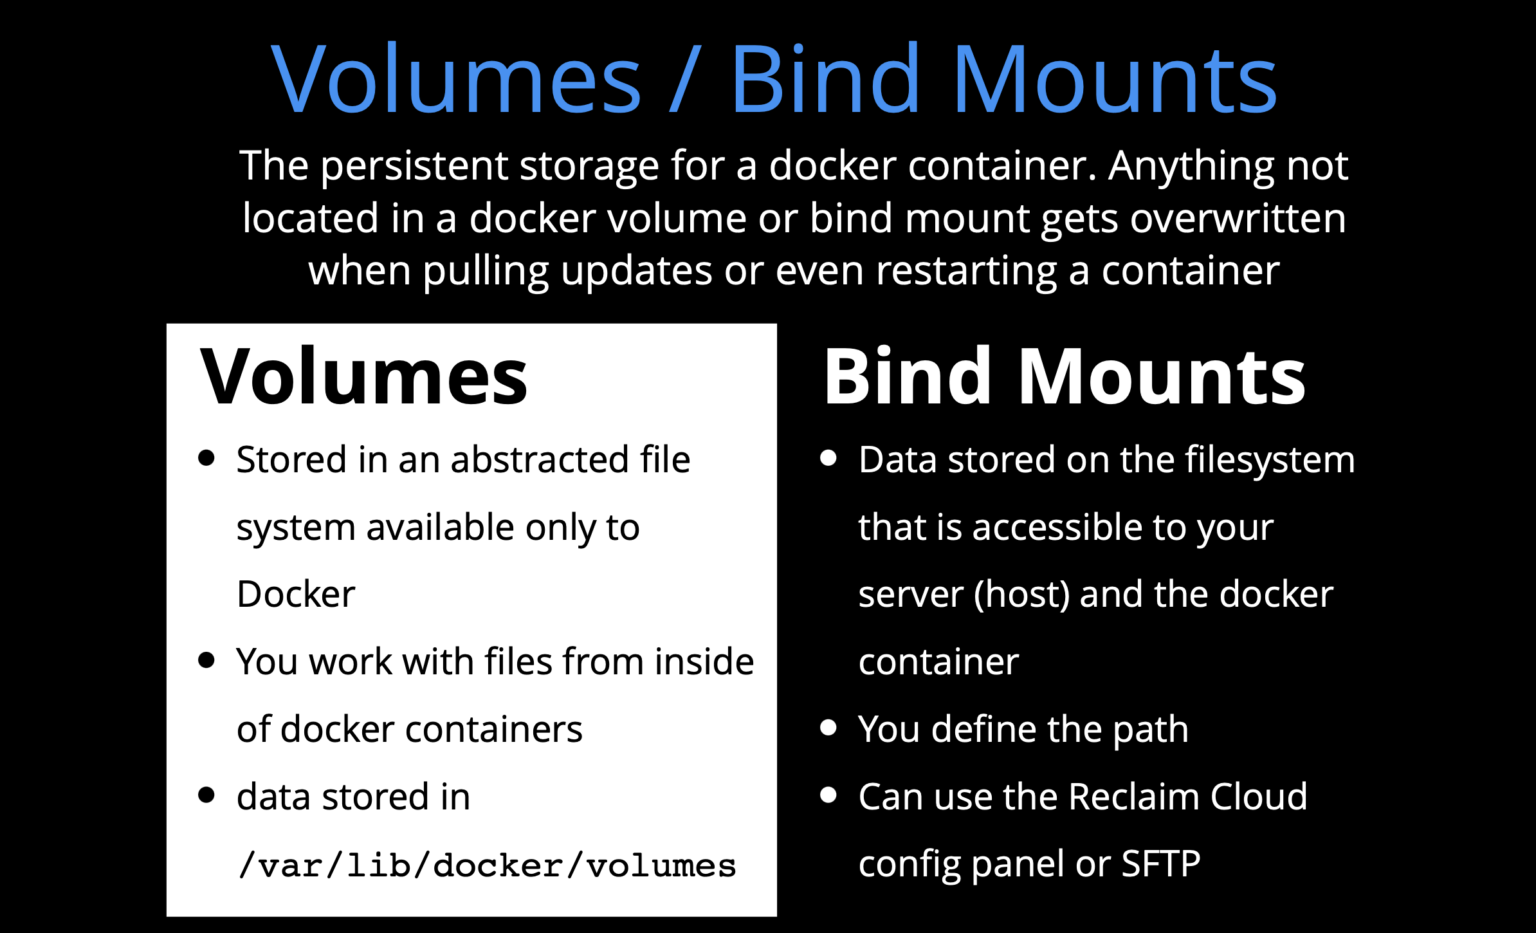
Volumes are stored inside of Docker’s file system whereas Bind Mounts are stored in a separate file system accessible to the docker container.
Either will work, but NextCloud’s documentation calls for a Docker Volume so that’s what we’ll use for this case:
docker run -d \
> -v nextcloud:/var/www/html \
> -p 8080:80 nextcloud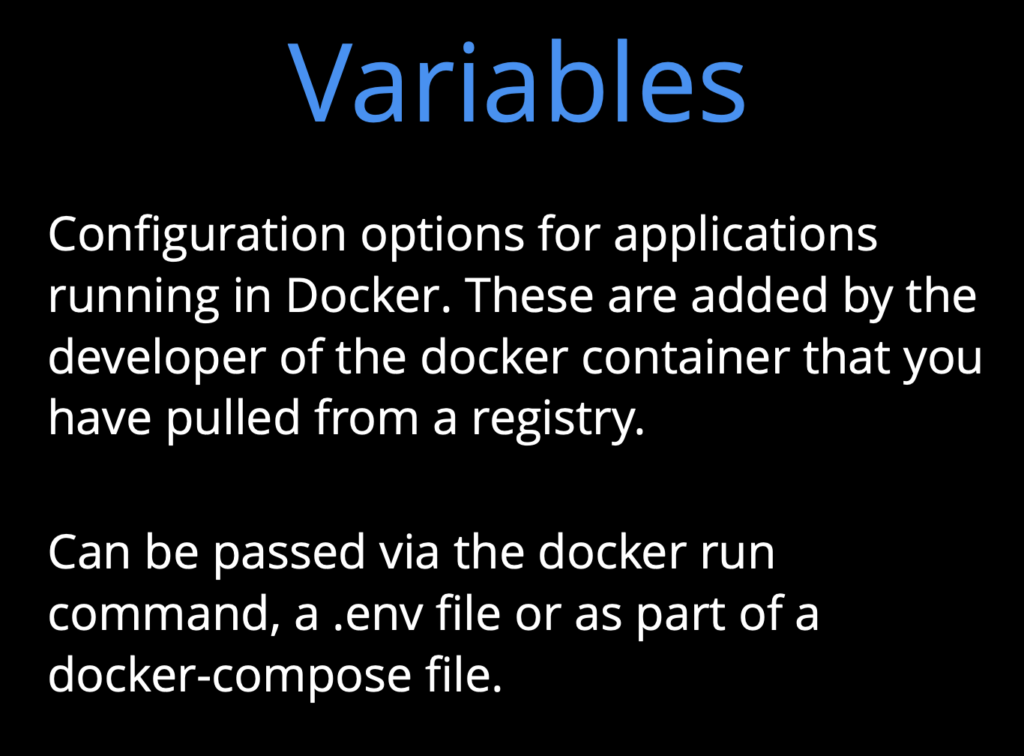
You can also add other variables to the command to set things like the admin username, the directory where data is stored, update interval, etc. These variables would be passed to the docker command by adding a -e and then whatever variable you’re working with. For example:
docker run -d -v nextcloud:/var/www/html -p 8080:80 -e NEXTCLOUD_ADMIN_USER=lauren nextcloudWhat’s tricky about this^ is that anytime you have to rerun the container, you’d have to use this exact command. Depending on how many customizations you have with different variables, that may create a lot of room for error. Enter an alternative to docker run:
docker-compose
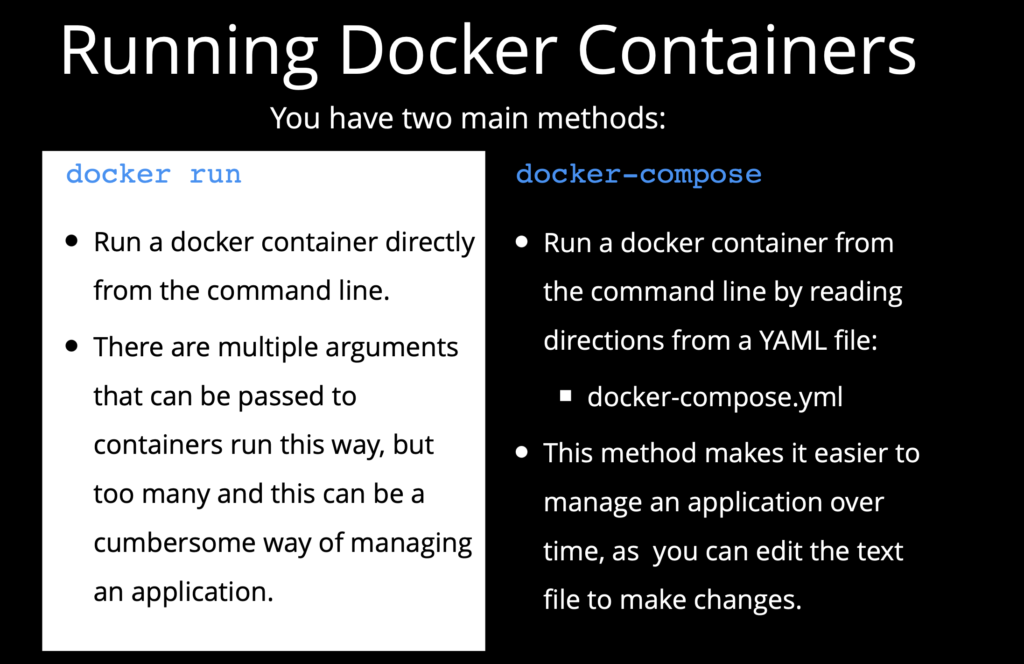
Docker-compose works off text files instead of straight commands. Test this out by stopping the environment once again and starting fresh:
To start with the basics, start by going into the Reclaim Cloud config panel > root > create a new folder called nextcloud. In that new folder, create a new file called docker-compose.yml.
In the new file, copy/paste Taylor’s simple docker-compose file:
version: '3.3'
services:
    app:
        image: nextcloud
        restart: always
        ports:
            - '8080:80'
        volumes:
            - 'nextcloud:/var/www/html'
volumes:
    nextcloud:
After saving this new file, head back to terminal and navigate to the nextcloud directory. Run the new docker compose file:
docker-compose up -dOnce that’s done, the NextCloud site should once again run on the environment URL with :8080. 🎉
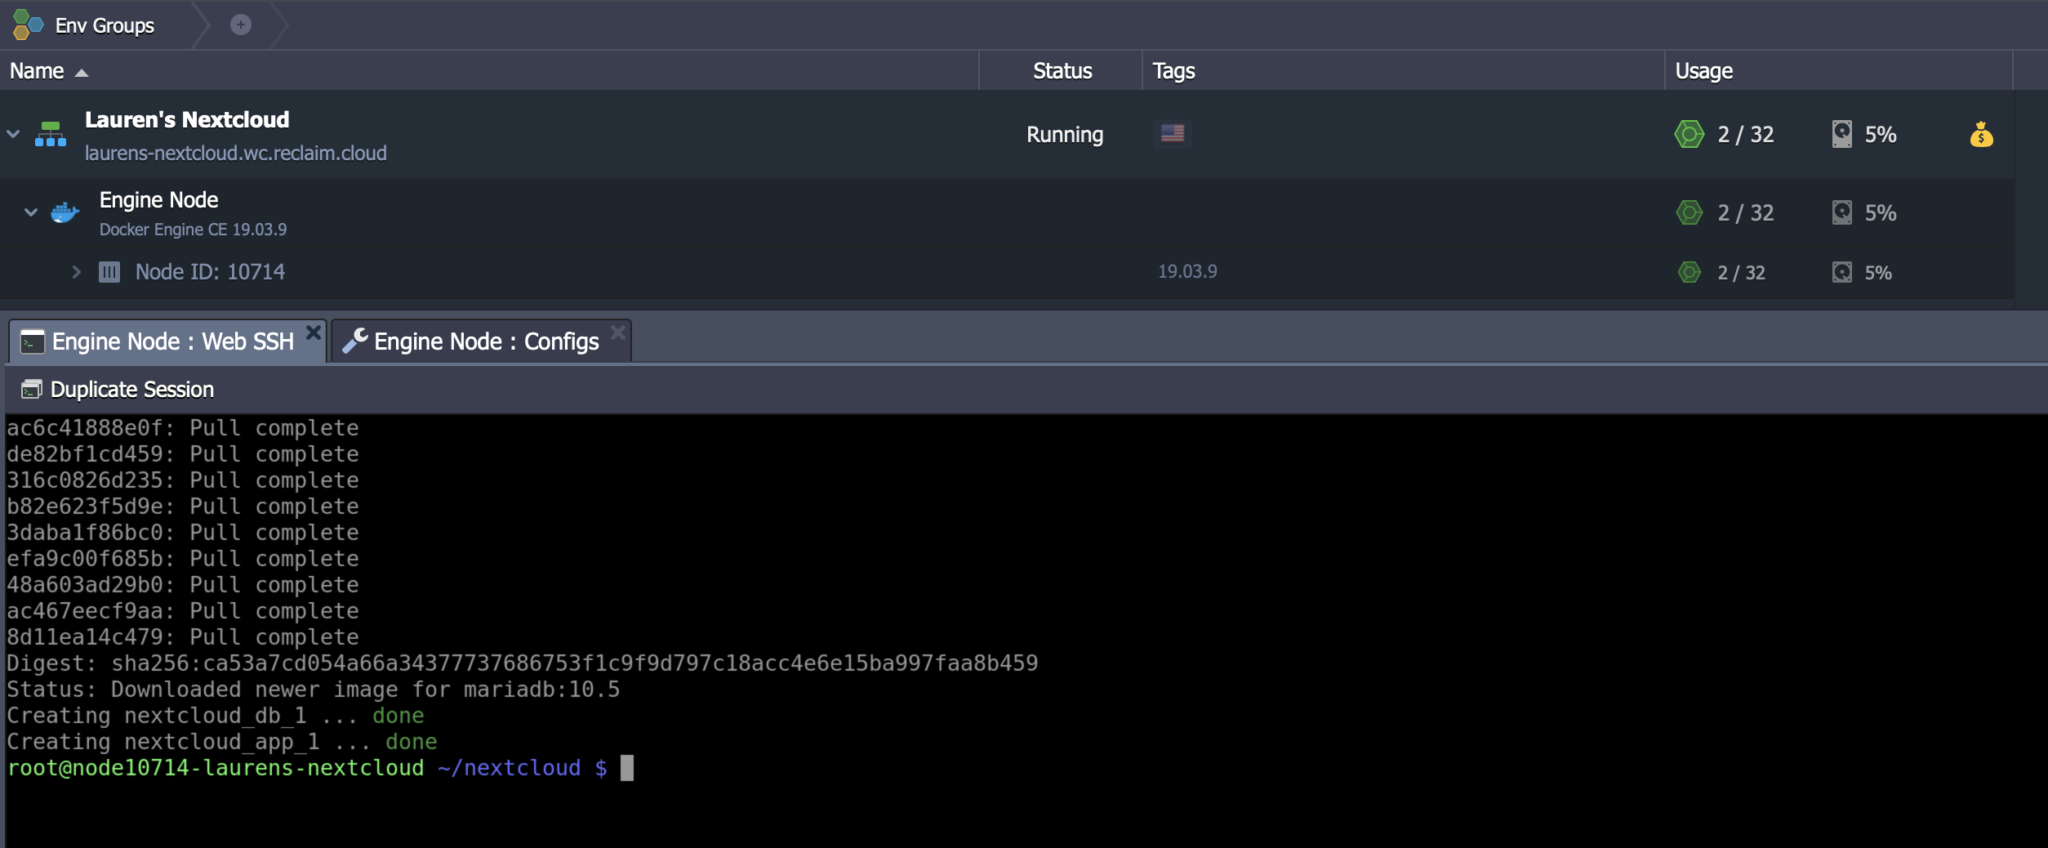
As a quick note, docker-compose down will stop the container. Use this command now in order to test out NextCloud’s docker-compose file. Replace the simple content above with NextCloud’s version (shared below) in the docker-compose.yml file. (Remember to fill out the MySQL DB passwords.)
version: '2'

volumes:
  nextcloud:
  db:

services:
  db:
    image: mariadb:10.5
    restart: always
    command: --transaction-isolation=READ-COMMITTED --binlog-format=ROW
    volumes:
      - db:/var/lib/mysql
    environment:
      - MYSQL_ROOT_PASSWORD=
      - MYSQL_PASSWORD=
      - MYSQL_DATABASE=nextcloud
      - MYSQL_USER=nextcloud

  app:
    image: nextcloud
    restart: always
    ports:
      - 8080:80
    links:
      - db
    volumes:
      - nextcloud:/var/www/html
    environment:
      - MYSQL_PASSWORD=
      - MYSQL_DATABASE=nextcloud
      - MYSQL_USER=nextcloud
      - MYSQL_HOST=db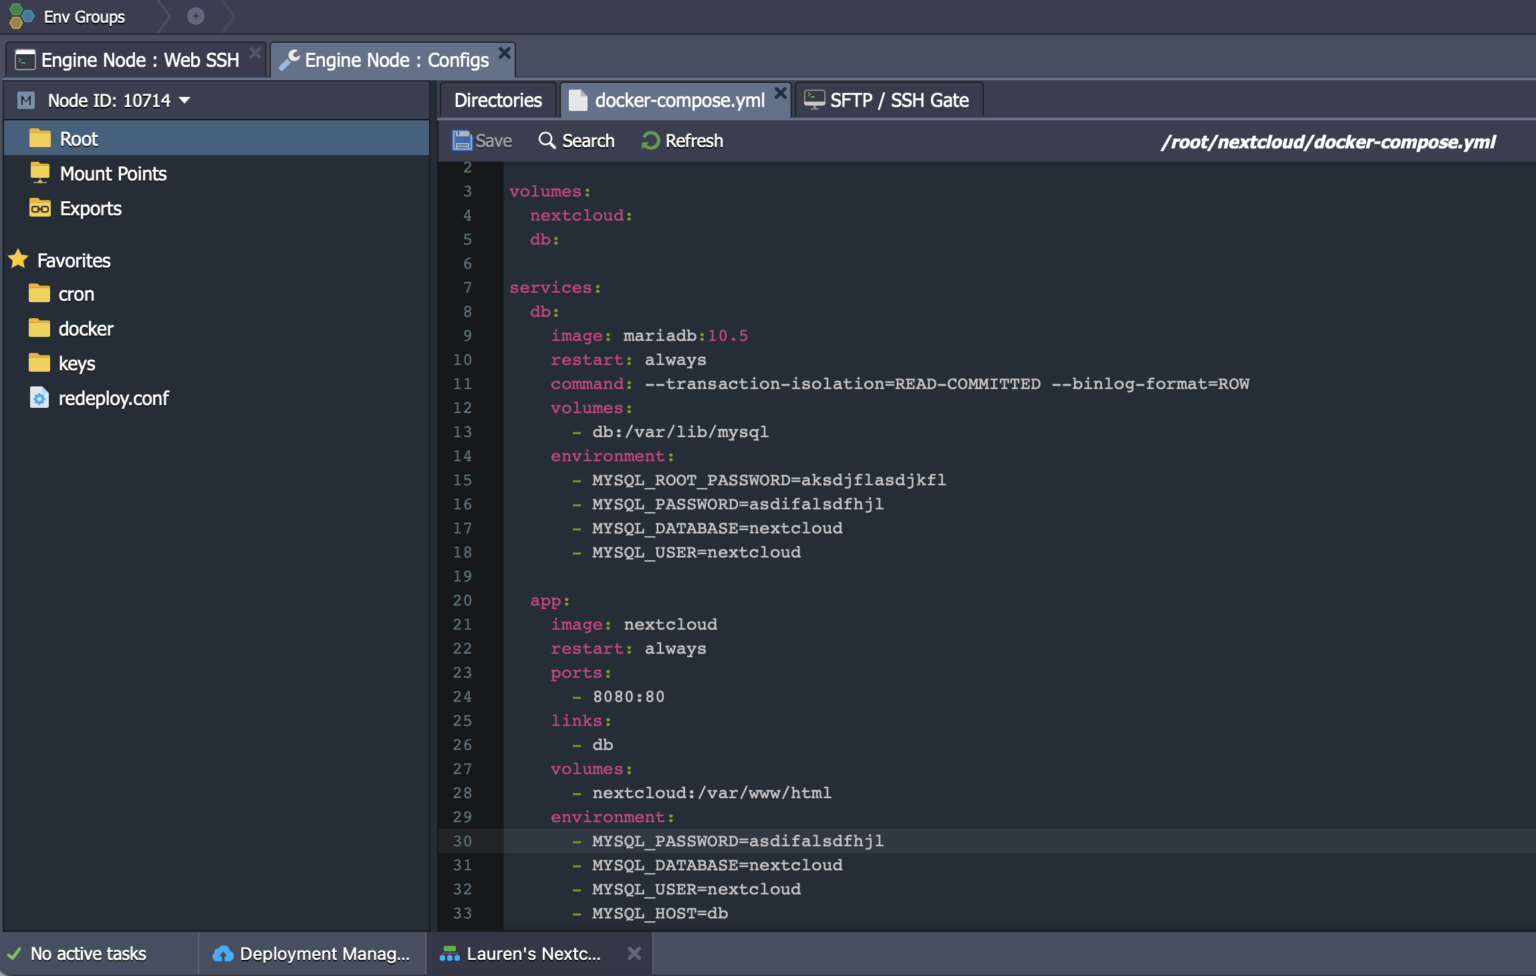
After rerunning docker-compose up -d, we’re now back in business! 🎉
In short, it’s probably best practice to work from the developer’s docker-compose file when you can to avoid having to remember a bunch of individual commands. Docker run is helpful in instances where docker-compose isn’t available.