
This post was originally published on Lauren’s Sandbox and covers quick notes from session 1 of Reclaim EdTech‘s July Flex Course on Understanding Containers.
Quick Links
- Welcome to Understanding Containers
- Week 1: What are containers, and what is Docker?
- Video: What are containers and cloud hosting?
- Docker Glossary
- Video: Basics of Command Line
- Getting Started with Docker
What are containers?
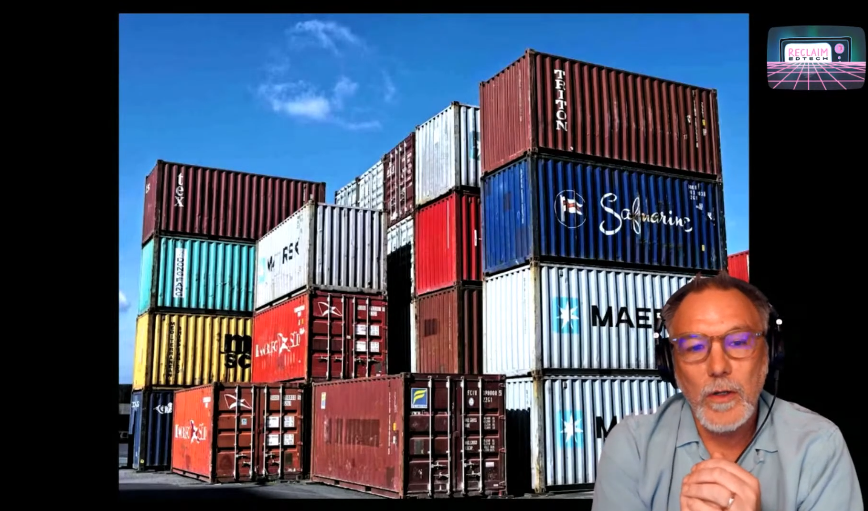
Advantages of Shipping Containers: standardization, flexibility, costs, security
“Containers are lightweight packages for your application code together with dependencies such as specific versions of programming language, runtimes, and libraries required to run your software services.”
Google Cloud
Containers make it easy to share CPU, memory, storage, and network resources at the operating systems level and offer a logical packaging mechanism in which applications can be abstracted from the environment in which they actually run.
Containers can run across various operating systems. There is so much flexibility and opportunity. Because containers are efficient to run on the server, they can be cheaper to scale. Containers are also safer because they’re isolated and locked down.
Docker didn’t invent the “container” but they brought the “container” to a broader audience.
Containers: infinite possibilities wrapped in a standardized wrapper.
Looking at Reclaim Cloud
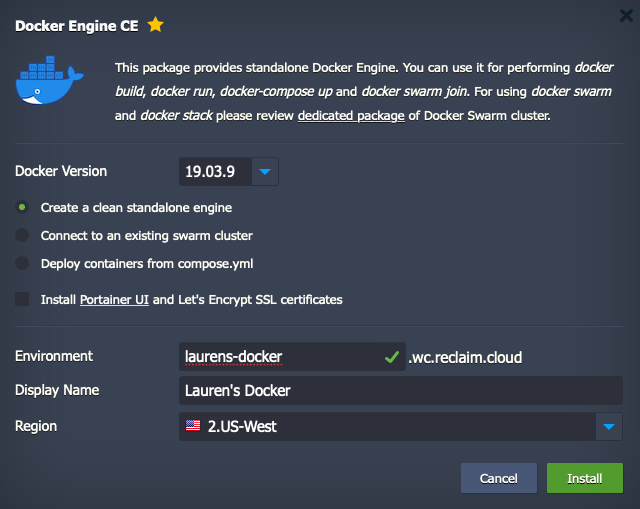
Marketplace > Dev & Admin Tools > Docker Engine CE > Install
Before mapping a domain, you get a URL through a shared load balancer. Environment URLs can’t be changed after the fact (though you can clone it).
- Reclaim Cloud Balance > Quotas & Pricing to get a sense of usage
- Reclaim Cloud Settings > for SSH Keys and collaboration for sharing environments
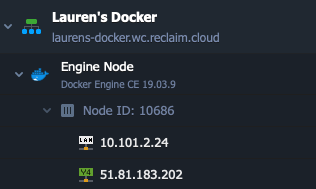
Environment drop downs: sometimes environments will have multiple containers (nodes) for one application doing different things– the developer might’ve intended it to be that way, or sometimes it makes sense to separate the application from the database and load balancer for high-traffic sites.
In this case right now, there is one docker engine node for our one environment. Node ID > IP addresses for the environment (will be helpful later on for mapping domains).
Environment Settings:
Hover over the environment to see additional buttons. Click the “change environment topology” button to open a window that lets you adjust the resource scale for an environment, set price scaling limit, enable IP addresses, etc.
You don’t get billed for RAM and CPU for stopped environments.
Environment Settings panel is different than the account settings panel, though they’re both called “settings.” (lol)
Node settings:
Some nodes have add-ons that allow for SFTP access, scheduling the start/stop of environments, etc. You can also restart nodes or redeploy a container (though note that this could overwrite files).
The config panel allows you to browse the file system for a Reclaim Cloud node– it’s basically a little file manager. Upload limits are quite small. For larger uploads, use SFTP.
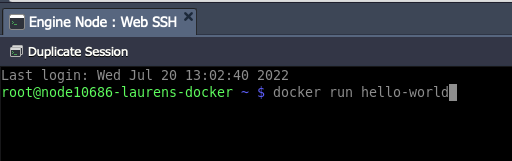
Web SSH panel opens a terminal session for an individual node. Quick command to run as a demo:
docker run hello-world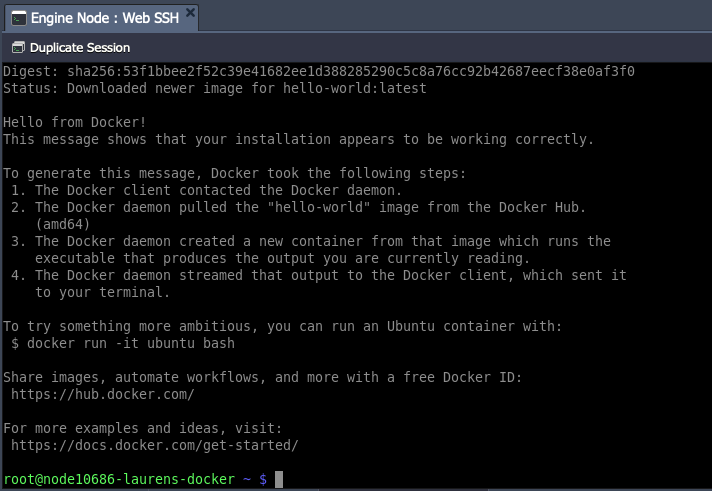
Ta-da! 🎉
Reclaim Cloud vs Docker
Docker containers are also…containers. Meaning we can run containers inside of containers. :)
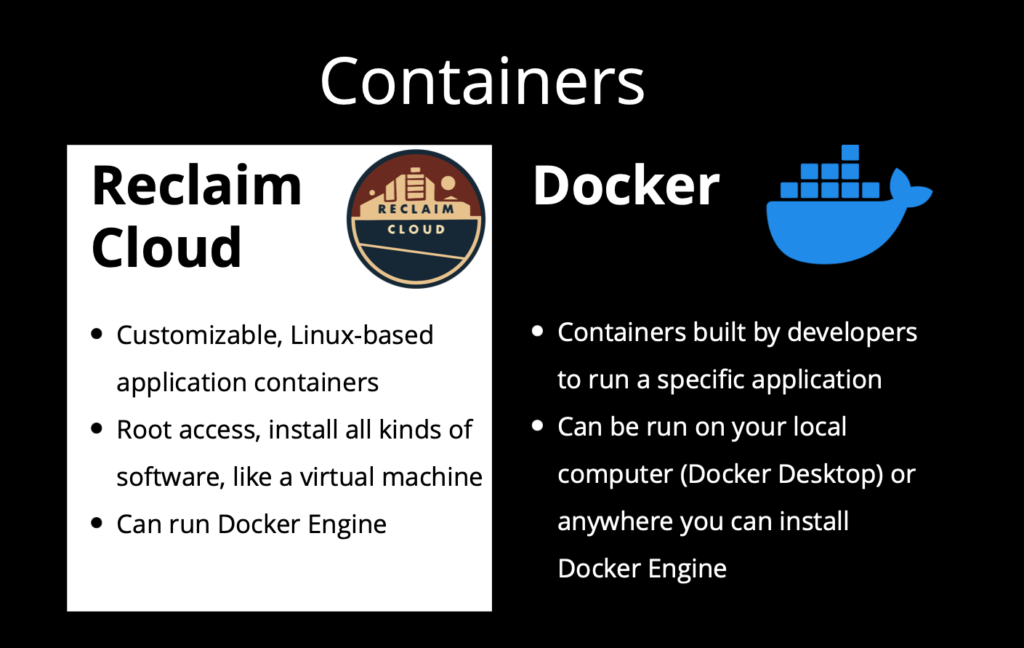
Reclaim Cloud:
- Customizable, linux-based application containers.
- Root access, install all kinds of software, like a virtual machine
- Can run Docker Engine
Docker:
- Containers build by developers to run a specific application
- Can be run on your local computer (Docker Desktop) or anywhere you can install Docker Engine
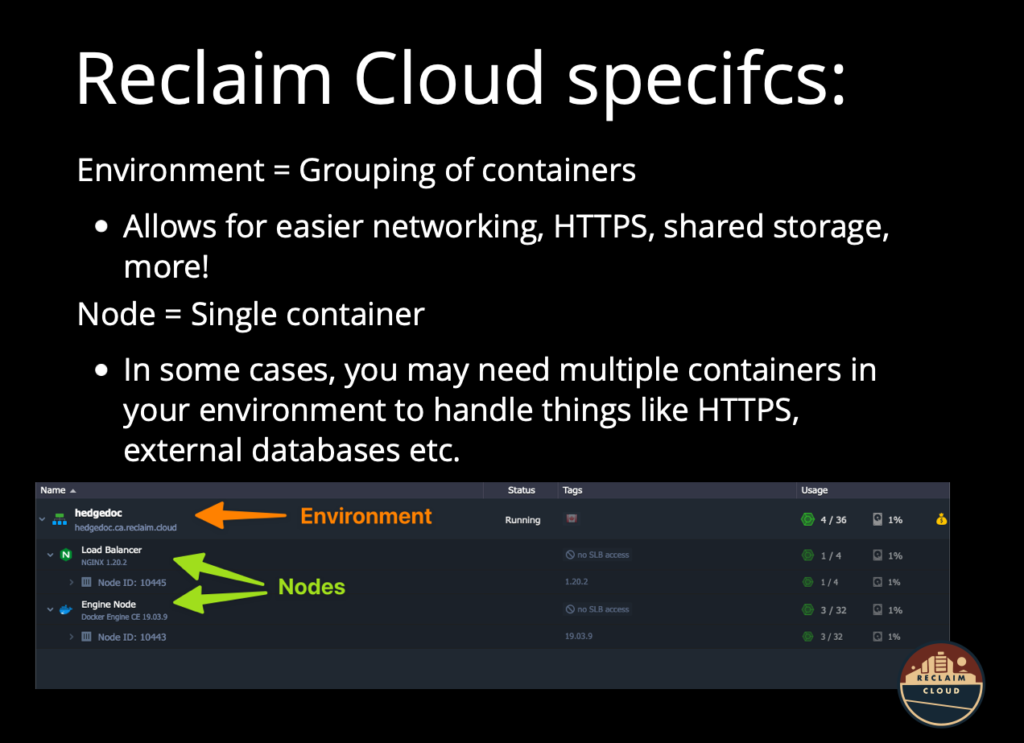
Environment: Grouping of containers, allows for easier networking, HTTPS, shared storage, etc.
Node: Single container
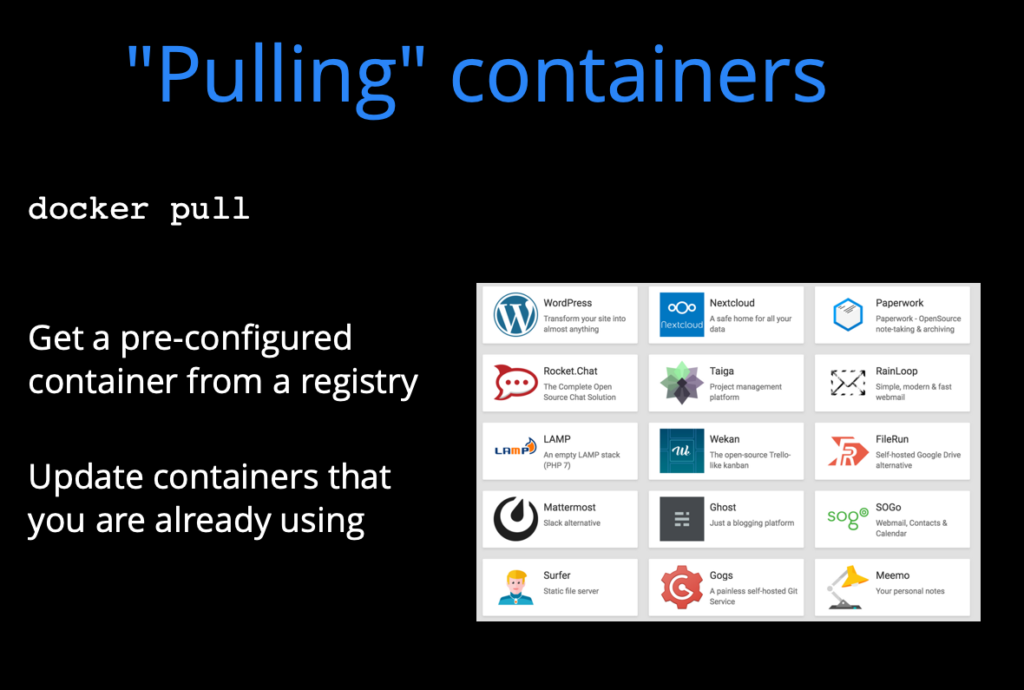
“Pulling” containers: docker pull; getting a pre-configured container from a registry; update containers that you are already using. This was done in the above demo.
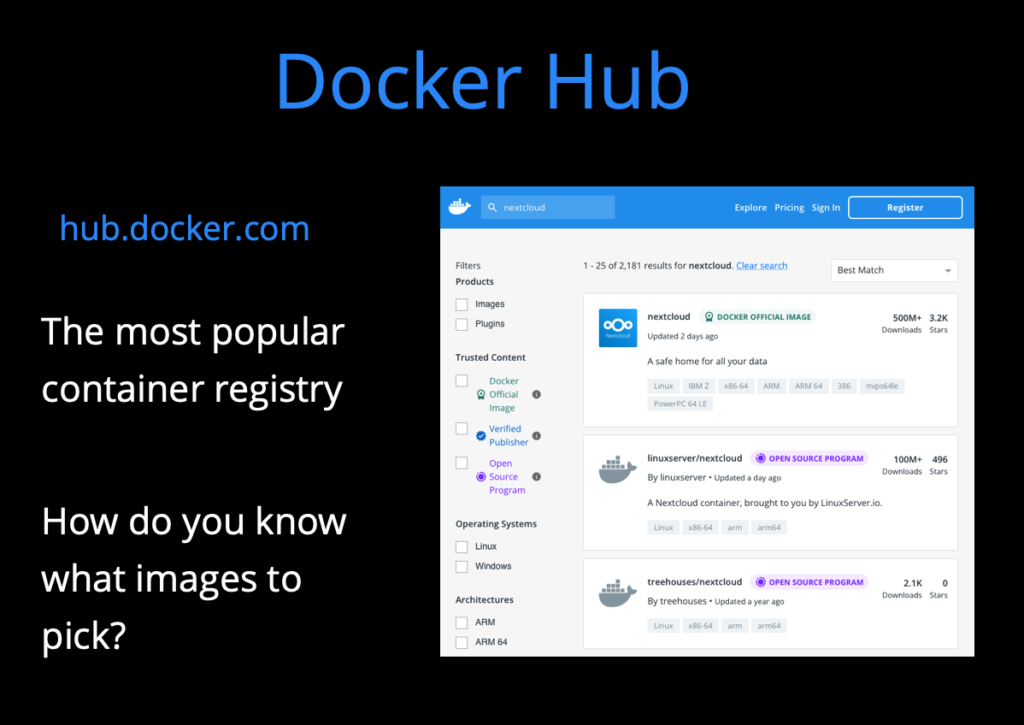
Docker Hub: the most popular container registry–> hub.docker.com