
In the past I’ve toyed around with converting a single WordPress site into a WordPress Multisite. But today while I was on a call with some folks at Miami University of Ohio, we were talking about the possibility of bringing single WP sites into a larger multisite network, and I realized I never really blogged here about what that entails. I set out today to document this, and it was a good refresher for me since I haven’t handled migrations in some time. The process is quite simple thankfully, even though the idea of moving sites can feel worrisome. Domain redirects in instances where site URLs are changing is also a common worry so I’ll make sure to cover that at the end.
For the purposes of my test, I installed a WordPress Multisite via Installatron in my personal cPanel account at lauren.reclaim.hosting. I already had a single test WP instance at laurenhanks.com/custom/ so that’s what I used for this migration.

Before Starting
Take a backup of your site. If you’re working in cPanel or Installatron, you should have the option to generate a backup in a multitude of ways: Generating a backup in Installatron; Generating a backup in cPanel; Restoring backups from JetBackup
Step 1: Export the single WP site
While it may be tempting to use a migration plugin, you can’t always guarantee that you’ll be able to use the migration plugin on the WPMS side of things, so for the purposes of this guide we’ll be using the import/export tool. (I personally love the All In One Migration plugin for other scenarios, and it looks like they have an extension for Multisite migrations that might worth it in bulk moves.)
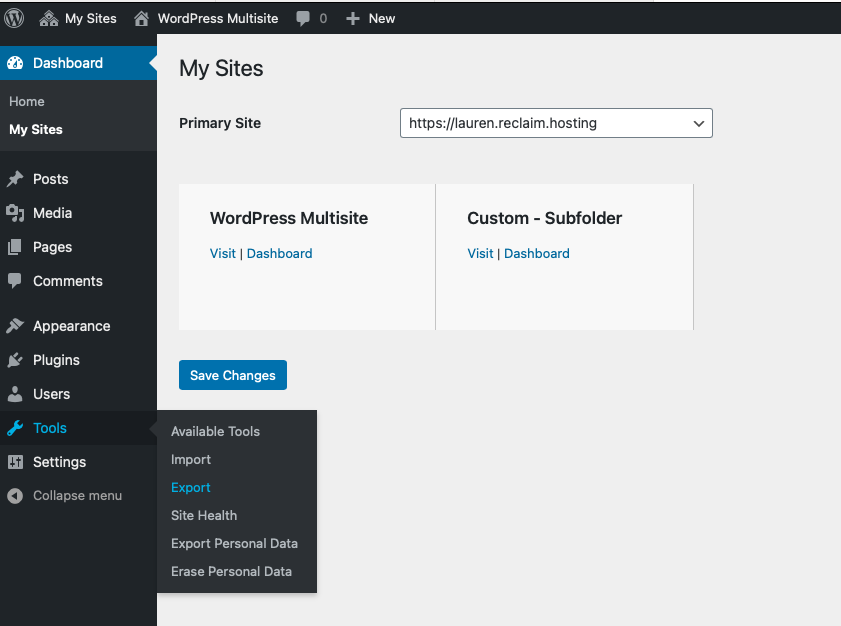
Log into your single site dashboard and go to Tools > Export. Select which content you want to export (I’ll click All Content) and then click Download Export File:
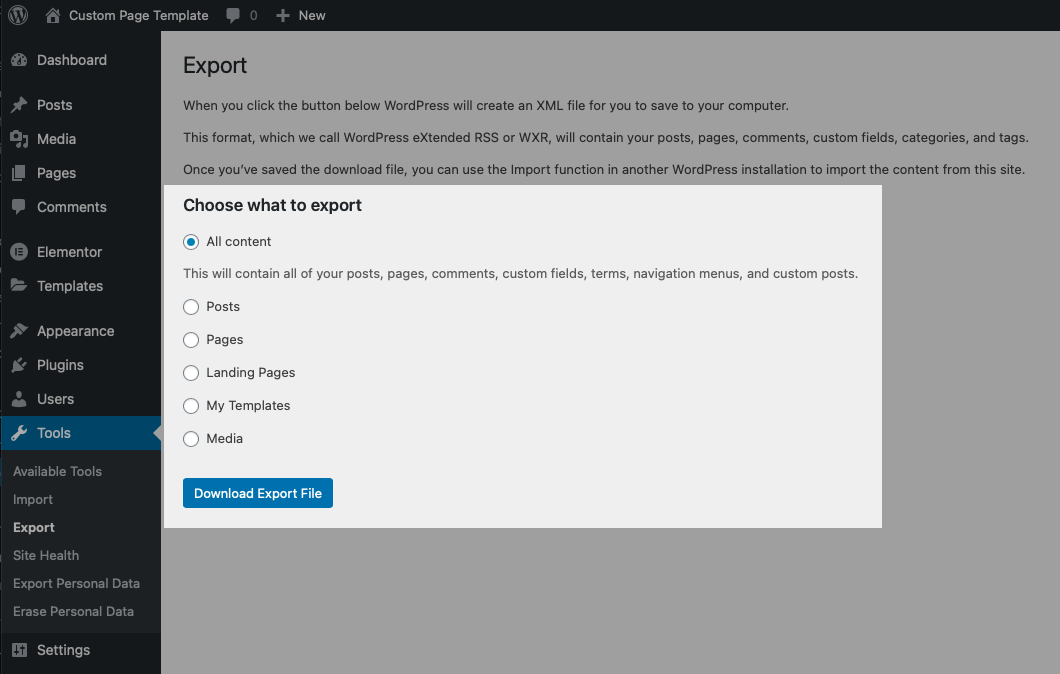
You’ll be prompted to download the .xml file that WordPress generates. Temporarily save it somewhere easy to access like your Desktop.
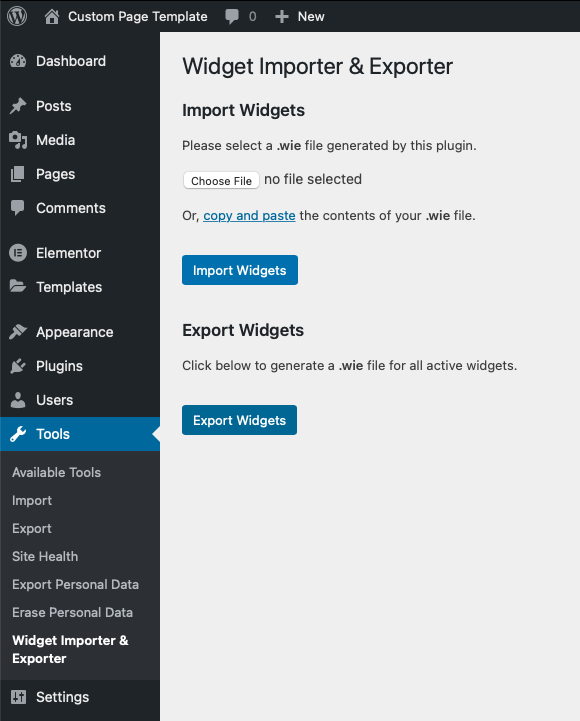
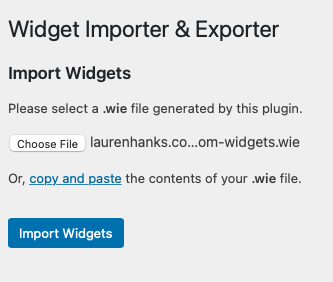
If you want to move over Widgets as well, you’ll want to install the Widget Importer & Exporter plugin, and follow similar steps to above to download an export .wie file:
Step 2: Create a new subsite
Navigate to the Network Dashboard of your WordPress Multisite and create a new site where you want your exported files to live.
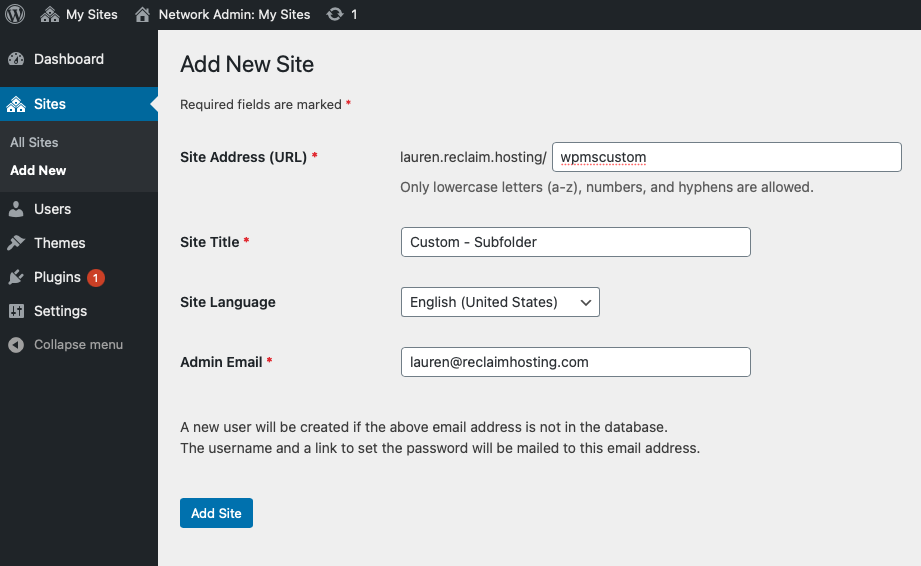
In my case I changed the subfolder name to /wpmscustom. Once filling out the required fields, click Add Site.
Step 3: Prepping your New Subsite
We’ll need to start first by installing & enabling all necessary themes and plugins used in the single WP install. This is where a little diagnosis and legwork may be required depending on how large your WPMS is, which plugins/themes you want to provide to all end users, and which plugins/themes are compatible in a WPMS environment. My /custom site thankfully didn’t have much on there, but I went ahead and installed the theme and plugins that were previously active. While you’re here, you’ll also want to make sure that the WordPress Importer plugin is installed and network enabled. If you’re importing Widget settings, make sure Widget Importer & Exporter is also installed/enabled. Next you’ll want to navigate to the dashboard for your new subsite and activate your required themes and plugins.
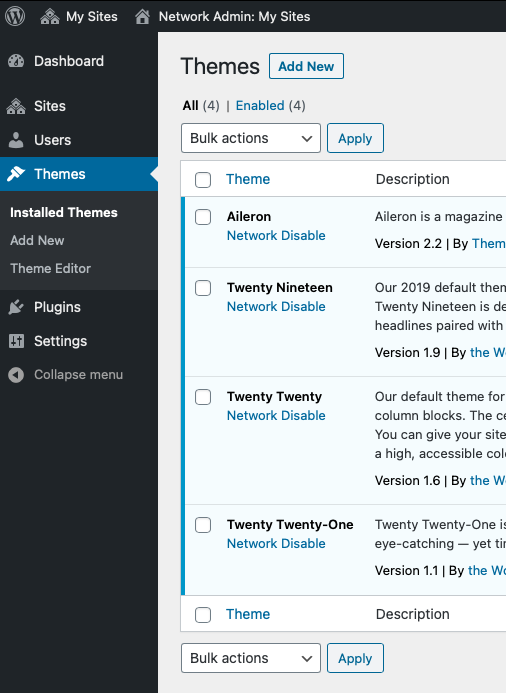
Network enabled themes 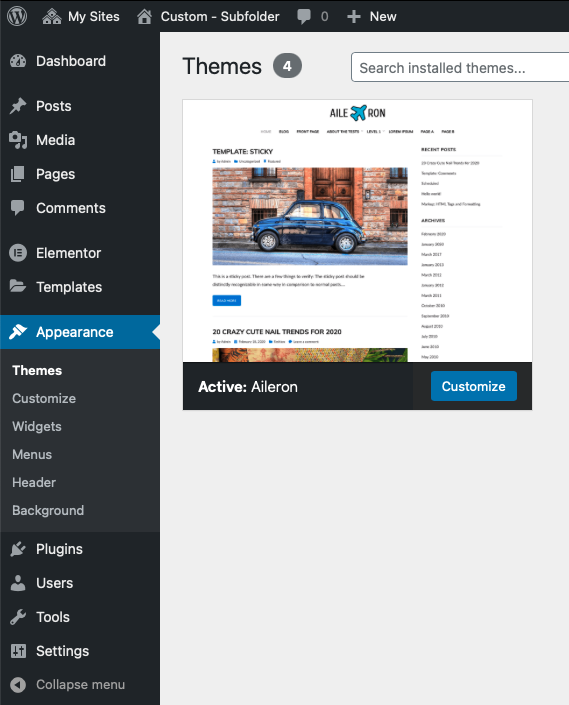
Subsite activated theme
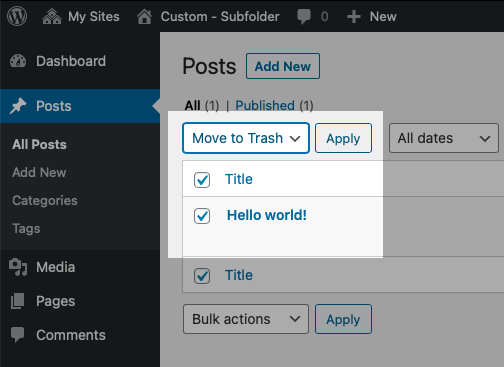
From here, head to the Posts and Pages section of your subsite dashboard and delete any Hello Worlds or Sample Pages.
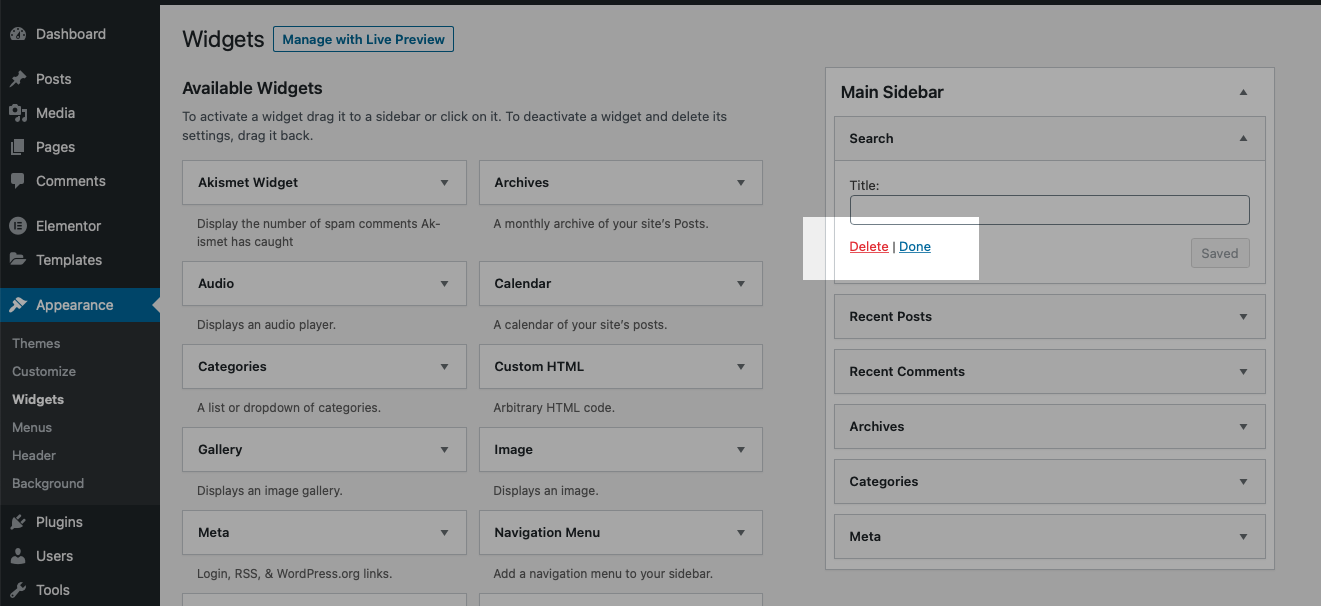
I also like to delete the widgets that are automatically added too. This section can be found under Appearance > Widgets:
Step 4: Import content into new subsite
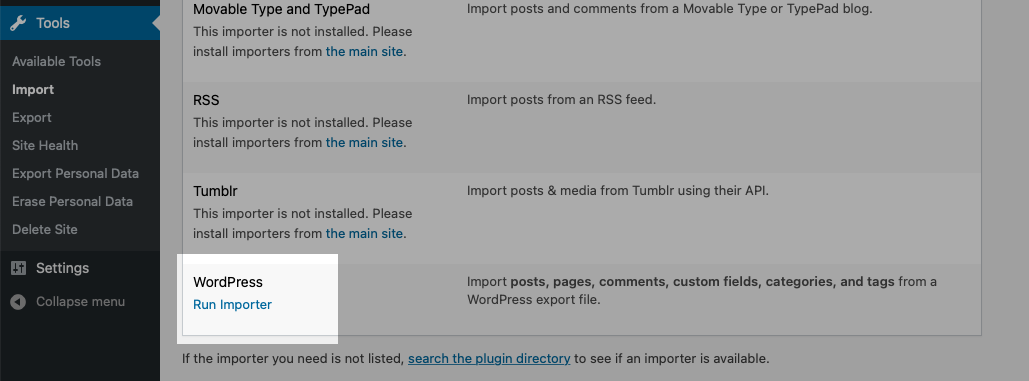
Remember that .xml file we downloaded to our desktop in step 1? Cool. Navigate to your new subsite dashboard, and head to Tools > Import. You should see the option to click Run Importer under the WordPress section. If you don’t, make sure the WordPress Importer plugin is activated in your subsite dashboard.
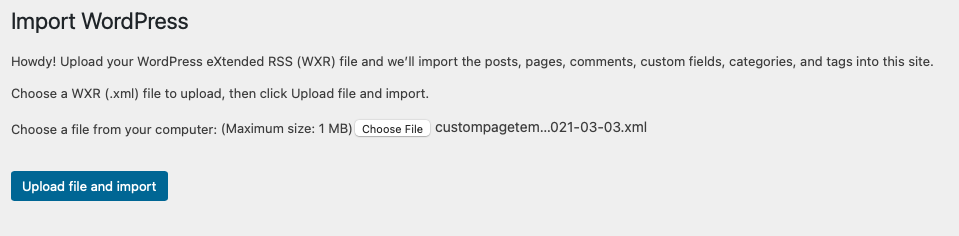
After clicking Run Importer, upload your export .xml file where prompted and then click Upload file and import:
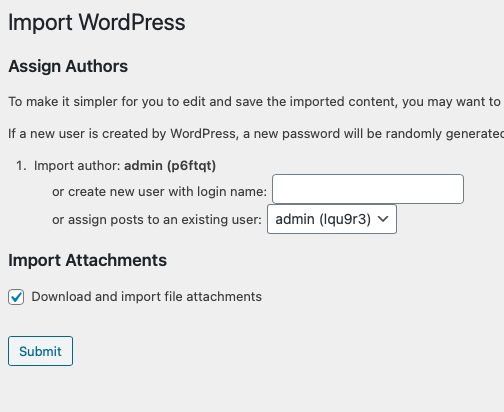
Assign the site content to a new or existing user & select the option to download and import file media attachments. Finally, click Submit:
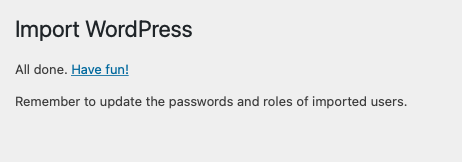
Upon a successful import, you should see the following notice:
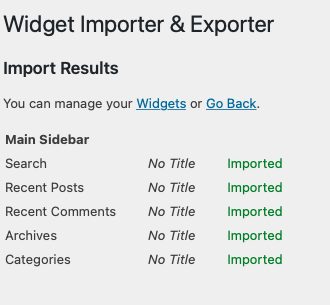
If you’re importing widgets as well, you’ll want to navigate to Tools > Widget Importer & Exporter. Upload your .wie export file and click Import Widgets:
Upon a successful import, you should see the following:
Step 5: Site Cleanup
As with any standard Export/Import in WordPress, you may need to adjust theme & plugin settings given not all customizations will come over cleanly. You’ll certainly get the content over in one piece, but you may need to adjust options in Customizer & Menus, for example. If you’ve got a caching plugin activated, it might be helpful to temporarily disable that while you make changes. Clearing your browser cache also helps, too! I would also check that your user roles are correct, and its always good practice to reset passwords.
Step 6: Domain Mapping & Redirects
Depending on the domain you’re using on the old and new sites, you may need to adjust DNS as well to point to the new multisite. We have a quick guide about Domain Mapping to WPMS that Gordon wrote here. If you need a more in-depth explanation of the process, I recommend checking out the following wpmudev article: The Ultimate WordPress Multisite Domain Mapping Guide. If you’re concerned about old domain names being hardcoded in the WordPress database, you can run a search and replace command in terminal to confirm the domain name change globally.
Wonderful summary of the small steps. If you do have a lot of Customizer settings, I have used the Customizer Import/Export plugin which works similarly to the Widgets one https://en-ca.wordpress.org/plugins/customizer-export-import/
The menus usually come along fine with the WordPress Export but I find you usually have to reset their location.